How To Assemble 3D Papercraft Model?
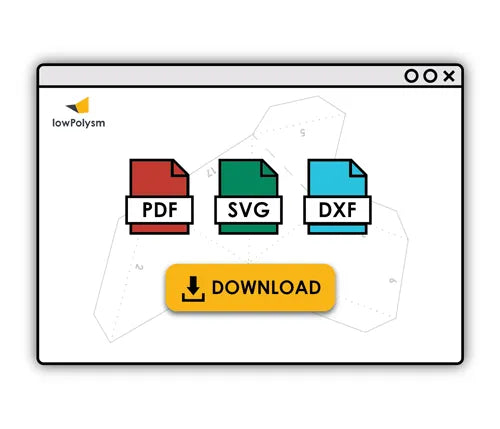
01. DOWNLOAD
Download the assembly instructions, which include a visual guide, along with the template files provided in PDF, SVG, and DXF formats.
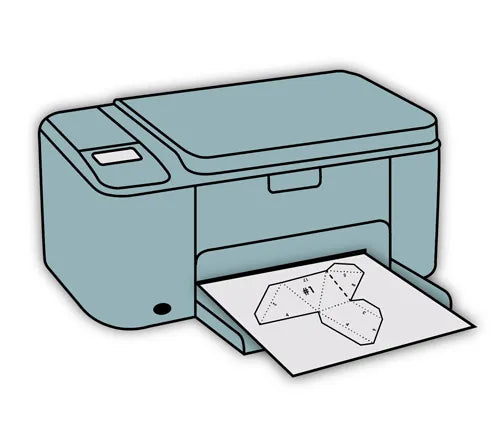
02. PRINT
Select your desired color cardstock for the paper model. Print the downloaded templates directly onto cardstock. Alternatively, you can also use cutting machine's draw function to print the template parts onto the cardstock.
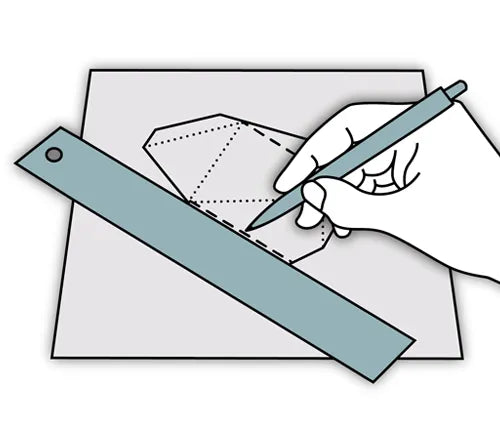
03. SCORE
Carefully score along all dashed and dotted lines on the printed templates. For manual scoring, place a ruler along the line and press firmly as you trace it with a dried-out ballpoint pen. Alternatively, use scoring function on your Cricut or Silhouette cutting machine.
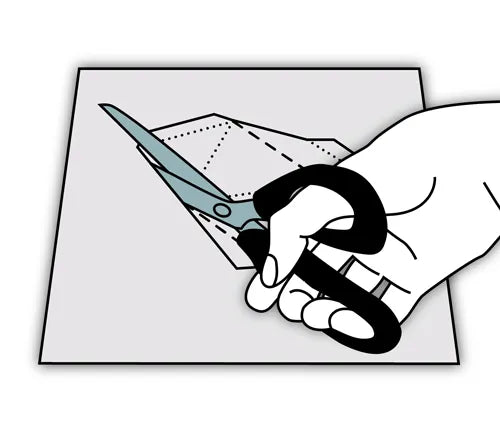
04. CUT
Cut out all the template parts following the solid lines using scissors or a craft knife. Alternatively, you can cut templates automatically on cutting machines such as Cricut or Silhouette.
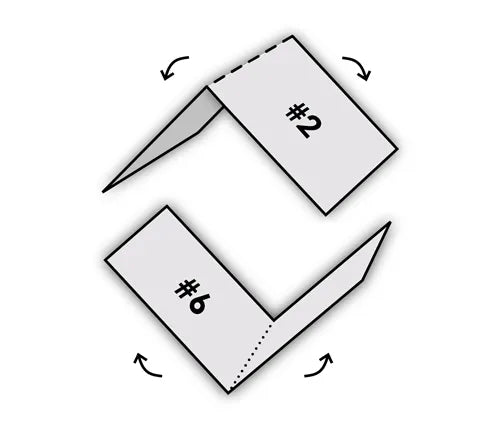
05. FOLD
Fold template parts along all scored lines. Dashed lines indicate mountain folds, while dotted lines indicate valley folds. Accurate folding is a key to creating the sharp edges of final 3D paper model.
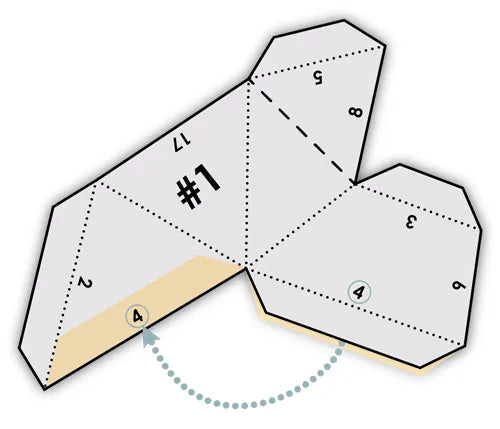
06. GLUE
Glue each flap to its corresponding edge, matching the numbers. Assemble the template parts in numerical order: first, glue all connecting flaps between template parts #1 and #2. Then, continue by attaching part #3, and proceed with the remaining parts...